I recommend setting up a test AviSys data set in which you can perform a dry run of the taxonomy update. If anything goes wrong, no harm will be done because it's a throw-away copy of your data. If all goes well, you can go ahead and expect the update to go well on your real data set. Here's how you create the dry run data set.
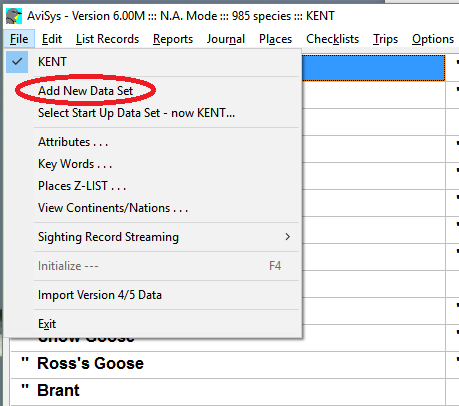
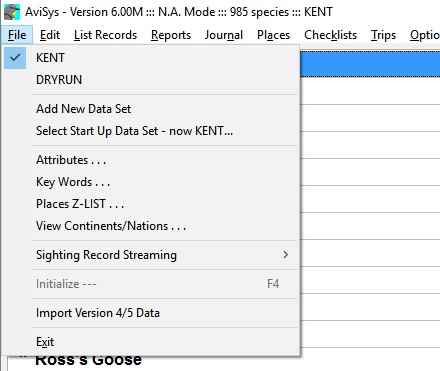
Click on “File” on the AviSys menu bar. The dropdown menu will list all of your data sets. In this example, I have only one data set and it is named KENT. Click on “Add New Data Set”.
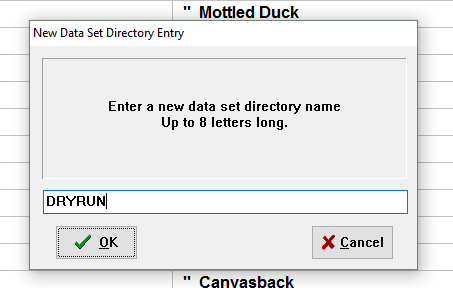
Name the new data set DRYRUN. Please literally use the name DRYRUN so that it will match this documentation!
Click YES.

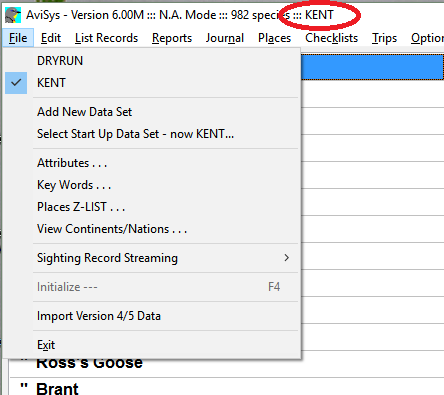
Now when you click on “File” in the menu bar, your new data set DRYRUN is included in the list. The checkmark next to your original data set name shows that it is still the active data set, and this is confirmed by the fact that its name is at the end of the title bar. Click on DRYRUN to make it your active data set.
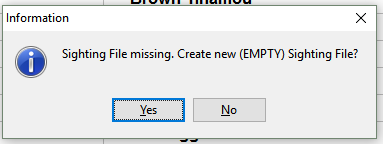
You will see a series of prompts (not all shown here). Click OK or YES to everything.


The title bar should now show that DRYRUN is your active data set.

Initially, DRYRUN is an empty data set, but we want it to be a copy of your real data. To accomplish that, we will restore it from your backup. In the Utilities menu, click on “Restore Data...” At the first prompt (not shown here) click on “Start Restore”.

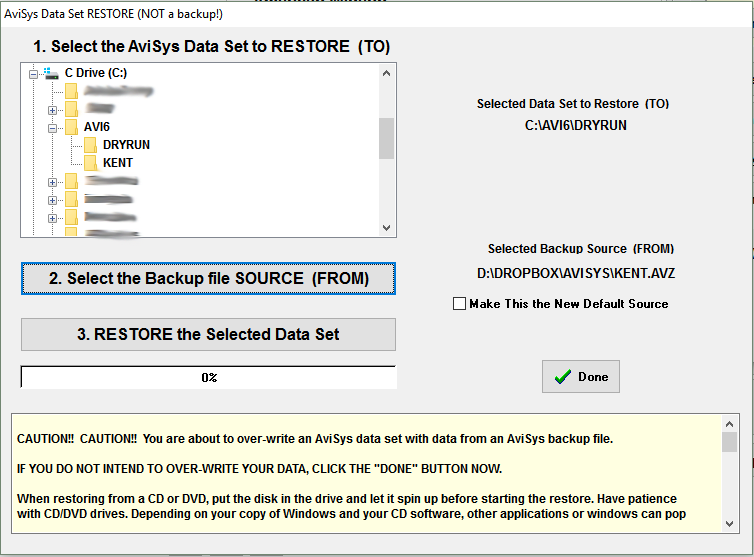
When the restorer window comes up (sometimes it takes a while), it should already show the correct data set to restore TO (DRYRUN), but if not use the explorer pane to find the correct one. It may also already show the correct backup to restore FROM, but if not, click on “2. Select the Backup file SOURCE (FROM)” and set it to the correct one. Then click on “3. RESTORE the Selected Data Set”. Careful, do NOT click “Done” at this point or it will just abort the restore.
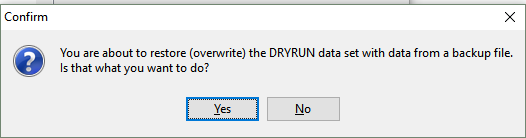
You will get a couple of “are you sure” prompts. Yes, you do want to overwrite the DRYRUN data set.
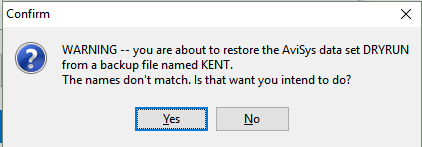
Normally, you want the name of the data set being restored to match the name of the backup data set.
However, in this case we are deliberately using restore to copy from one data set to another, so it's expected that the names don't match. Click Yes.
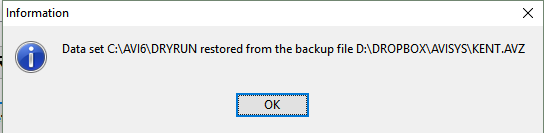
You should get confirmation of a successful restore. When you click OK, you will go back to the restore window. Now, you can click “Done”, then click “OK” and then “Quit” (these steps not shown here). Then you will come to an “AviSys will now close” prompt, and click OK there.
You will then get this advice that you need to remember. I'm not 100% sure that this is really necessary but it can't hurt. When you click OK here, AviSys really does close.
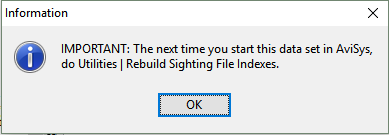
Now this is important. Every time you reopen AviSys, it will start in your default data set just like usual. You must open the File menu and click on DRYRUN to switch to it as your active data set.
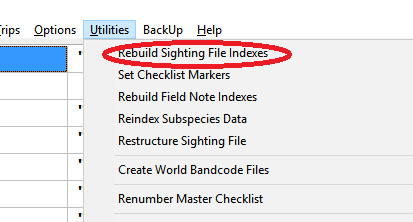
Here's where you do that index rebuild step. You should now be able to confirm that DRYRUN is an exact copy of your data set.
Congratulations, you are now ready to perform the taxonomy update on DRYRUN.